21/10/2024-23/10/2024 (Week 4)
Carren Yeliandi / 0376990
Bachelor of Design (Honours) in Creative Media - Digital Photography and Imaging - Taylor's University
Project 1(a) - Task 2b
Project 1(a) - Task 2b
Table of Content
Lectures
Week 4 : Introduction to Photoshop 3 Adjustment Layer and Filter
Adjustment Layer : a group of a super useful, non-destructive image editing tools that add color and tonal adjustments to your image without permanently changing its pixels.
- Brightness/Contrast
- Level
- Curves
- Exposure
- Selective Color
Filter : An essential element of Adobe's Graphic Editor
Lecture Videos and Reference :
Tutorial
This week we were tasked to take the final composition from week 3 and adjust it using adjustment layer or even filter to make it look more eye-catching.
Tutorial Videos :
Practical
I played around with the adjustment layer for a while to get a hang of it but in the end I managed to kind of understand how to more or less use it.
The first thing that I wanted to do was to make the 'liquid' texture on the background more transparent so I did so by using the adjustment layer 'xxx'
 |
| Fig. 3.1. Adjusted background (23/10/24) |
After that I make the fish , the focal point, more saturated and contrast using the adjustment layer and making it a bit more blue.
 |
| Fig.3.2. Adjusted fish (23/10/24) |
For the leaves, I used different adjustment layer to make the leaves have a little more variety (hue/saturation & Vibrance).
 |
| Fig.3.3. Adjusted leaves (23/10/24) |
The buildings was also adjusted based on the perspective using hue/saturation and levels.
 |
| Fig. 3.4. Adjusted buildings (23/10/24) |
For the details, I heightened the brightness of the sign near the fish and used color balance to make the black wall blend with the sign background. Meanwhile, The train brightness was darkened a little.
 |
| Fig. 3.5. Adjusted details (23/10/24) |
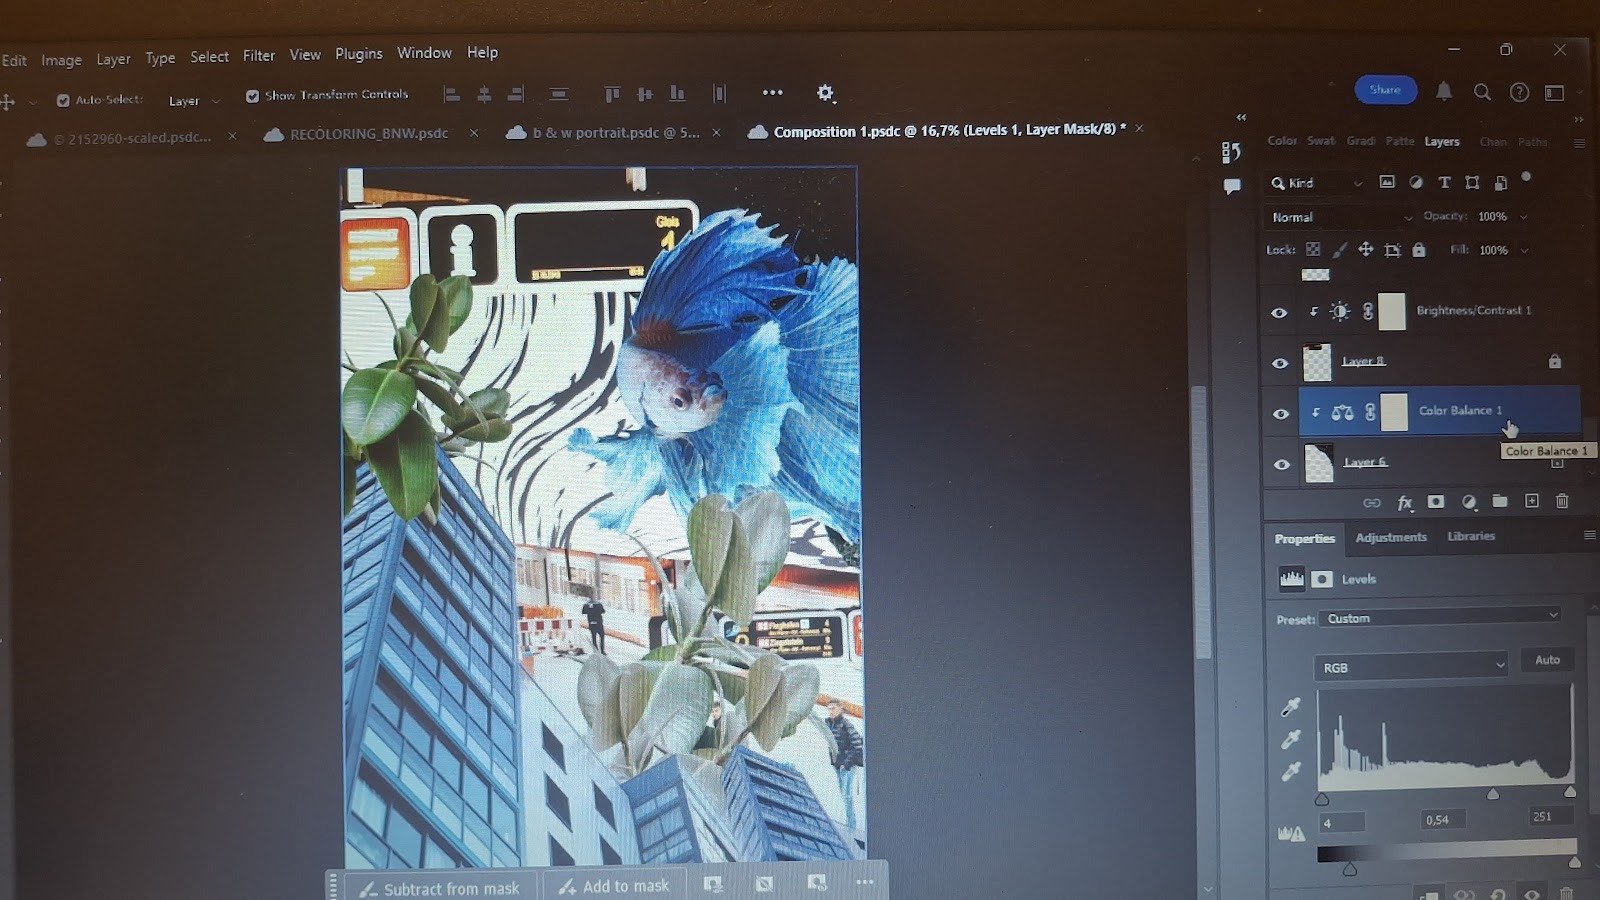
For the final touch, I added levels to the entire work to make it slightly darker to give the color more depth. The results is definitely more eye-catching than the original vers.
 |
| Fig. 3.6. Original version of the digital collage (23/10/24) |
 |
| Fig. 3.7. Final Adjusted Version of the Digital Collage (23/10/24) |
Reflection
This task is a bit more complex as I didn't want to make the colors and other things too different but just edited enough that it has a different feel than before. However it is definitely one of the most quickest task out of them all. I never used adjustment layer before so I needed to watch the tutorial a few times before I managed to know what button to click by memory.
The results is alright in my opinion but after I saw a few of my friends work I sometimes thought that I could make it a bit more contrasting by changing the color but even so I didn't want to do it so I just let it be. Maybe if given the chance I would try editing it a bit more drastically but I still don't have the confidence to do so, so I might experiment with a few more collage before actually doing so with an actual project.
Comments
Post a Comment