21/10/2024 - 29/10/2024 ( Week 5 )
Carren Yeliandi / 0376990
Bachelor of Design (Honours) in Creative Media - Digital Photography and Imaging - Taylor's University
Project 1(b) - Task 1
Table of Content
Lectures
Week 5 : Double Exposure
Double exposure photography refers to merging multiple images.
- Using the Tilt-Shift effect
- Create fake reflections
- Experiment with simple portraits and details textured
- Convert your result to black and white
- Work with silhouette
- Pick two random photo
- Make simple objects look fascinating
- Use shadow
Photoshop blend mode :
 |
| Fig.1.1. Blend mode groups (29/10/24) |
 |
| Fig.1.2. Commonly used blend modes (29/10/24) |
Tutorial
This week we were tasked to edit the character 'Shazam' into the 'Hearst Mansion' and after that do the same thing using our own photo that was taken on an eye-level.
Tutorial Videos :
Practical
These are the picture that I used.
 |
| Fig. 3.1. Hearst Mansion (28/10/24) |
 |
| Fig. 3.2. Shazam (28/10/24) |
I first cut out the Shazam poster in order to grab the character by using object selection tool / brush.
| Fig. 3.3. Selected Shazam (28/10/24) |
I moved the character to the hearst mansion and changed the size to fit the placement a bit more.
 |
| Fig. 3.4. Placed Shazam In The Hearst Mansion (28/10/24) |
I duplicate it and flip it horizontally and put it underneath the original Shazam , on the reflection itself.
 |
| Fig. 3.5. Duplicate Shazam as Reflections (28/10/24) |
I erased a part of his leg as he is leaning closer to the wall rather than the pool so that it will look more natural.
 |
| Fig. 3.6. Reflection Feet Erased (28/10/24) |
I used an hue/saturation adjustment layer to fix the color a little.
 |
| Fig. 3.7. Adjustment layers (28/10/24) |
I also added a bit of shadow by brushing a black color behind Shazam and duplicating + flipping it to the reflection.
I also adjusted the opacity slightly.
 |
| Fig. 3.8. Final Shazam In Hearst Mansion (28/10/24) |
After that I tried using my original photo by repeating the same step as before. But I did apply a few of the adjustment layer to the entire work rather than clipping it as I felt that it makes it look more natural.
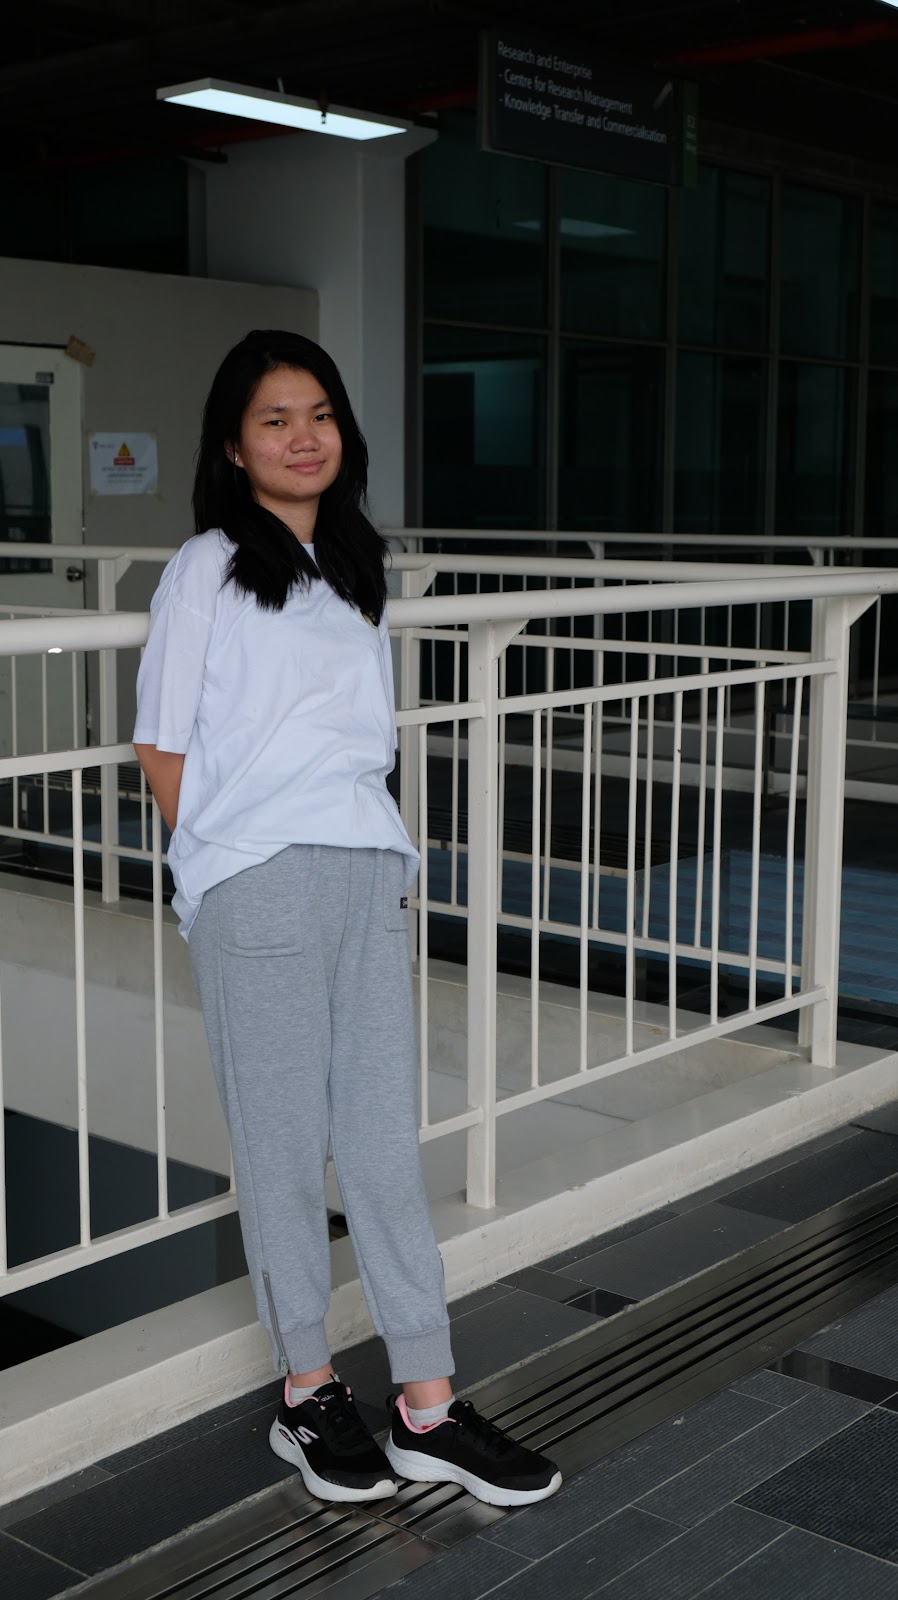 |
| Fig. 3.9. My picture (29/10/24) |
 |
| Fig. 3.10. Step-by-Step Summary (29/10/24) |

Reflection
I did this task quite quickly and even though I was a bit anxious about the result, I didn't know what to change as I felt that it's already looking quite natural. This task is not that difficult to do for me, yet at the same time challenging as I felt that my eyes are tricking me into believing that it looks natural. Nevertheless, this task was quite fun to do especially with the mini photoshoot that I got to do with my friends. It was quite embarrassing but it was definitely memorable, I'm not usually the type to take my own pictures so this assignment was a welcomed one.
Comments
Post a Comment